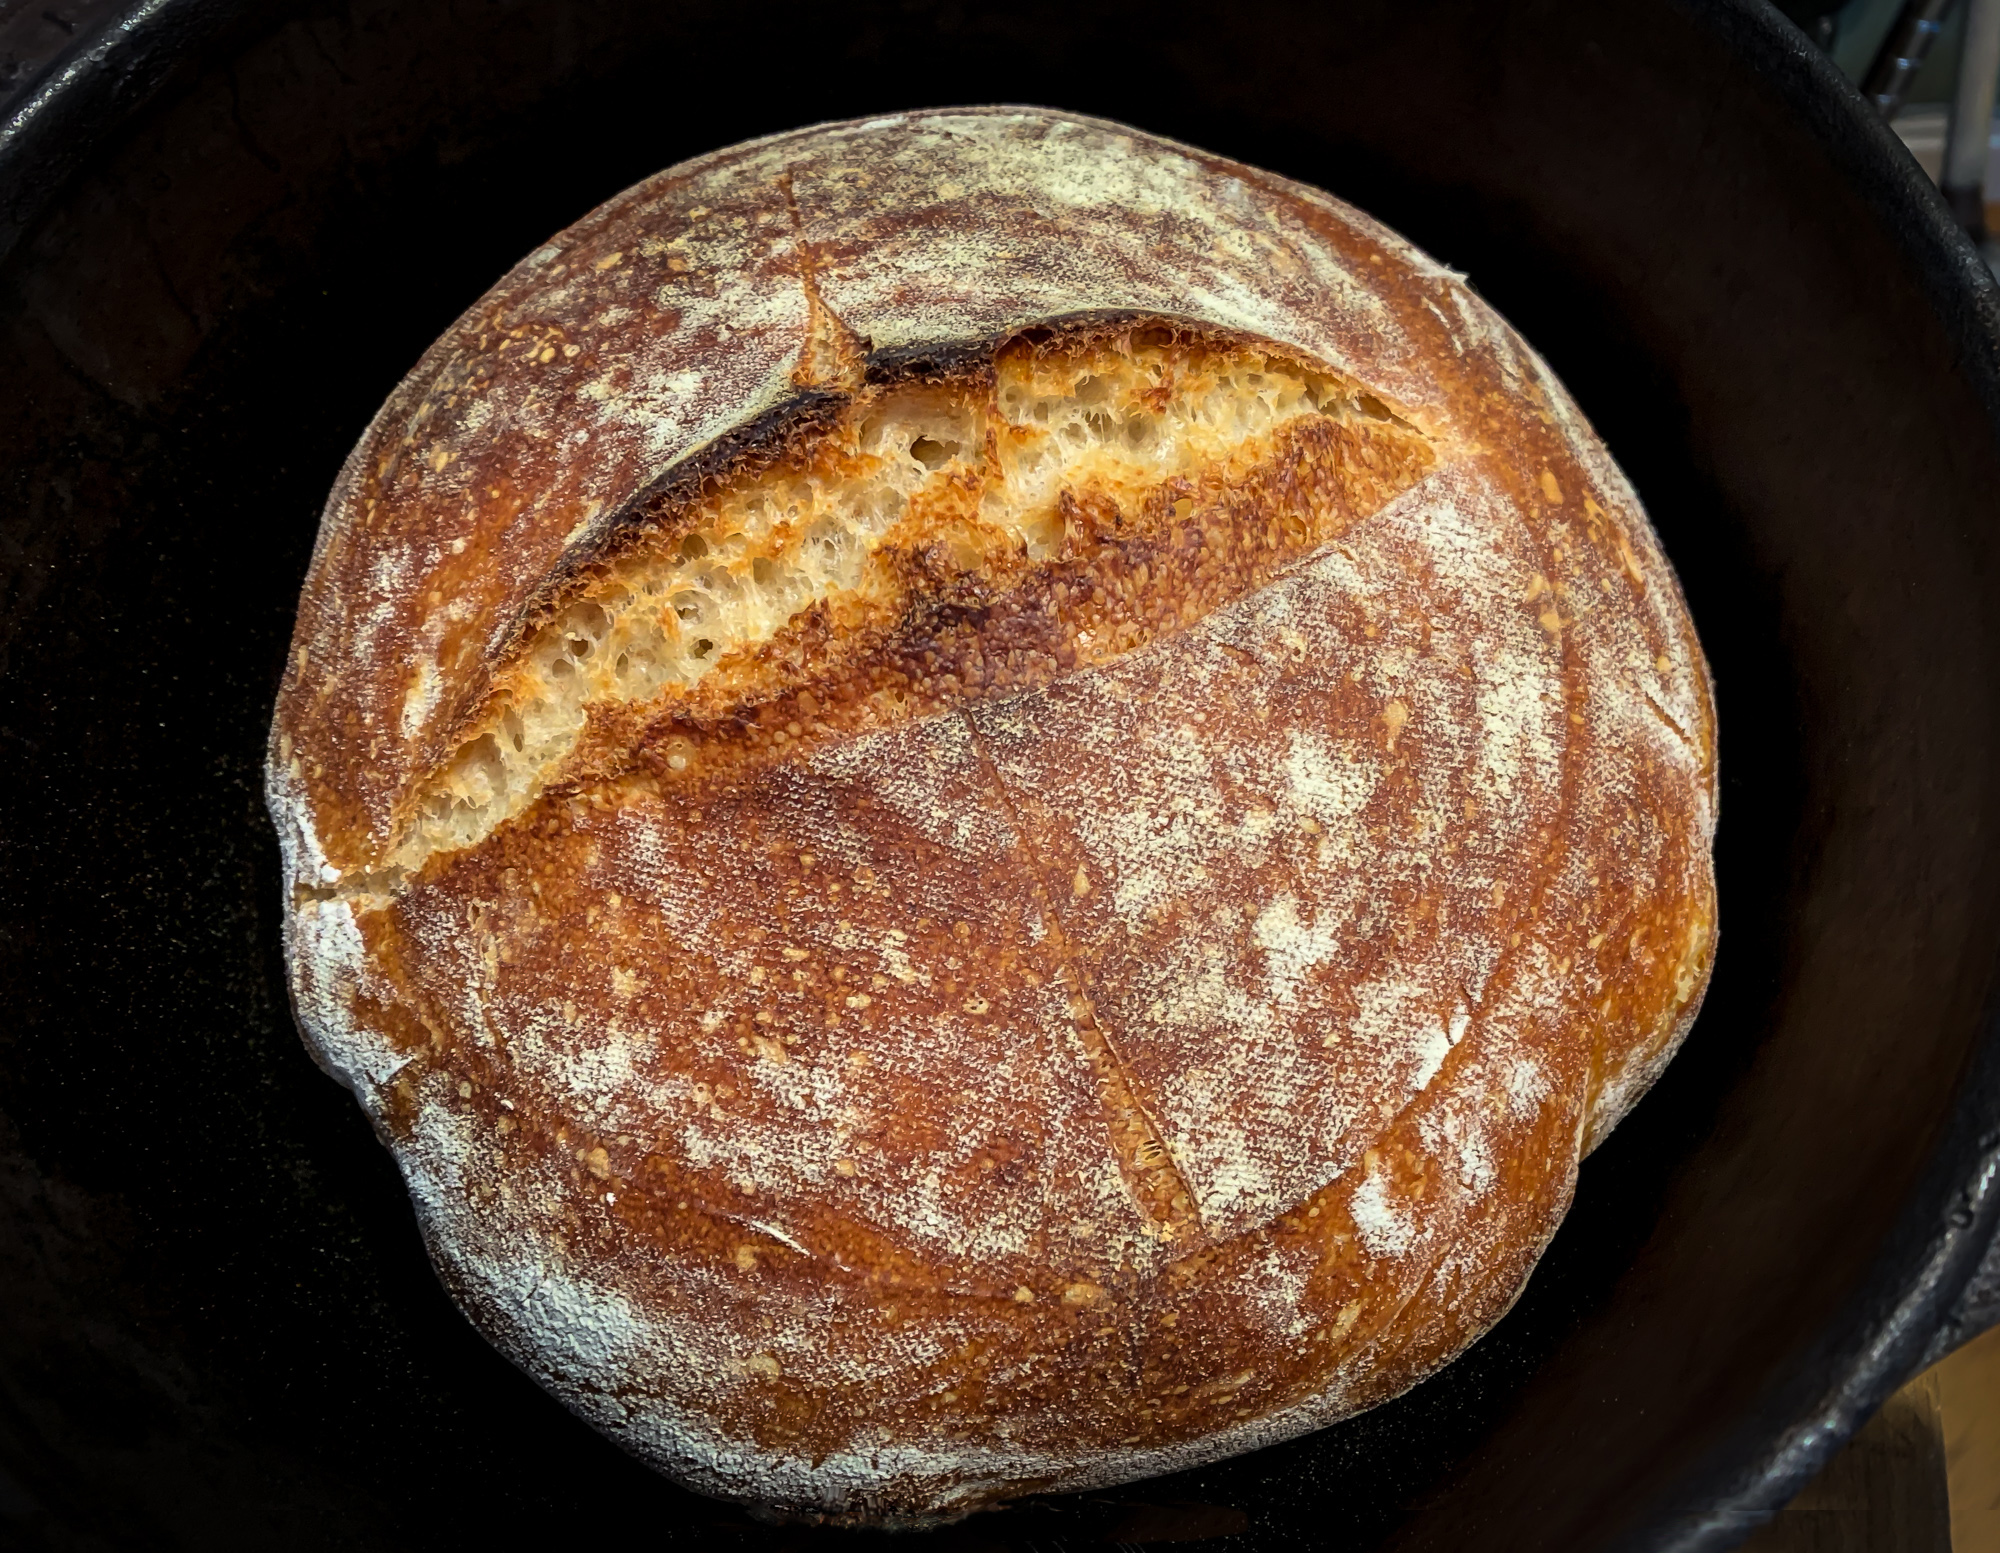
| Almost No-Knead Sourdough
|
|
|
|
I hate kneading bread. I am not one of those folks who derive some meditative pleasure from it. However, I know the best-tasting breads need some massaging and time to develop the right structure. After years of making Jim Lahey’s No Knead Bread, I was longing for more flavor, much like I found in the breads from Nancy Silverton’s La Brea Bakery. I bought her book but was intimidated by the 15-day process and incredible amounts of flour to make her starter. Then I found this post from Michael Ruhlman on making starter, and off I went. The starter took much longer to develop than was indicated, but I finally got it to a usable state (after a few bad loaves, I might add - newbie mistake). You can also use a purchased starter.
Then I went to bake Nancy’s recipe for a basic white loaf, a recipe that spans 15 pages as she teaches techniques. It’s a long read, with re-reading required along the way. After some unexpected interruptions that day, I found that I did not have enough time to develop my dough as she suggests and get it in the refrigerator to rest overnight. So, I used another technique learned from Lahey for fast sourdough, which is to mix your dough, then rather than knead it, you pull and stretch the dough in its bowl every 30 minutes for 3 to 4 hours. He then bakes it off, but I followed Nancy’s advice to refrigerate it overnight to develop flavor and structure, then bake it off in the morning.
This is really delicious bread, although at some point I will try the full La Brea method to see if it improves it further. |
|
|
|
| Ingredients |
|
Equipment: A 4.5 to 5.5 quart heavy pot with lid; cloth-lined proofing bowl; a large piece of parchment paper; instant-read thermometer.
1 pound plus 1 ounce bread flour
1/4 cup raw wheat germ
2 teaspoons kosher salt
6 ounces sourdough starter
9 ounces (by weight) of 65F-70F water
Wheat bran, cornmeal, or additional flour for dusting +
|

|
|
|
Steps
|
|
|
|
|
| 1 | In a large bowl, combine the flour, wheat germ, and salt and whisk to combine. In a small bowl, whisk the starter and water until the starter is fully dissolved. Pour the starter mixture into the flour, and use a flexible spatula to quickly mix. You may need to add a bit more flour or water to get a dough that holds together but still has a bit of moisture to it. Cover the bowl loosely with a clean kitchen towel, and let the dough sit at room temperature for 30 minutes. |
| | 2 | Using your flexible spatula, turn the dough, pulling it up and off the sides of the bowl and folding into the center as you turn. After a full rotation, cover loosely and let rest for 30 minutes before turning the dough again. After approximately 6 turns, or 3 to 3 1/2 hours, the dough should be ready. It will begin to look smooth and no longer stick much to the bowl. |
| | 3 | Flour the inside of a cloth-lined proofing bowl and place the dough in the bowl. Cover with plastic wrap, then the towel, and place in the refrigerator for 8 to 12 hours (no more than 24). |
| | 4 | Remove the dough from the refrigerator, remove the plastic wrap, cover with the towel and let rest at room temperature for 3 to 3 1/2 hours. During this time, it will rise to mostly fill the bowl, and you will likely see some surface bubbles. |
| | 5 | 30 minutes before the end of the rise, place your heavy pot, lid on, in the oven and preheat at 500° for 30 minutes. |
| | 6 | When it's time, place your parchment on a flat surface and dust with wheat bran or cornmeal (flour will work as well). Turn the bread out onto the parchment and score the top with a serrated knife. Remove the pot from the oven, remove lid, and lift parchment to quickly plop bread into the pot. Cover and place back in oven. Turn temperature to 450° and bake for 25 minutes. |
| | 7 | Remove lid, pull out parchment, and bake for 10-15 minutes longer, until bread registers 210° on an instant thermometer inserted into the center. |
| | 8 | Remove from oven, and use a spatula to lift bread and place on cooling rack. Let cool completely before slicing. |
| | | |
|
|
| Yield |
|
original recipe yield: 1 loaf
|
| Notes
|
Recipe works at the high altitudes of Colorado. (5,000 feet)
|
|
If you use our recipes - please give foodie kitchen credit and link to www.foodiekitchen.com
|